An ECU test bench, like the one shown in Figure 7-1, consists of an ECU, a power
supply, an optional power switch, and an OBD-II connector. You can also add an IC or
other CAN-related systems for testing, but just build- ing a basic ECU test bench is a great way to learn
the CAN bus and how to create custom tools. In this chapter, we’ll walk step by step through the process of building a test bench for development and testing.
The basic eCu Test bench
The most basic test bench is the device that you want to target and a power supply. When you give an ECU the proper amount of power,
you can start performing tests on its inputs and communications. For example, Figure 7-1 shows a basic test bench containing a PC power sup- ply (left) and an ECU (right).
However, you’ll often want to at least add some components or ports to make the test bench easier to use and operate. To make it easier to turn the device on and off, you can add a switch to the power supply. An OBD port allows for specialized mechanics tools to communicate with the vehicle’s network. In order for that OBD port to fully function, we need to expose the vehicle’s network wires from the ECU to the OBD port.
Finding an ECU
One place to find an ECU is, of course, at the junkyard. You’ll typically find the ECU behind a car’s radio in the center console or behind the glove box. If you’re having trouble finding it, try using the massive wiring harness to trace back to the ECU. When pulling one out yourself (it should cost only about $150), be sure to pull it from a vehicle that supports CAN. You can use a reference website such as http://www.auterraweb.com/aboutcan.html to help you identify a target vehicle. Also, make sure you leave at least a pig- tail’s worth of wiring when you remove the ECU; this will make it easier to wire up later.
If you’re not comfortable pulling devices out of junked cars, you can order an ECU online at a site like car-part.com. The cost will be a bit higher because you’re paying for someone else to get the part and ship it to you. Be sure that the ECU you buy includes the wire bundles.
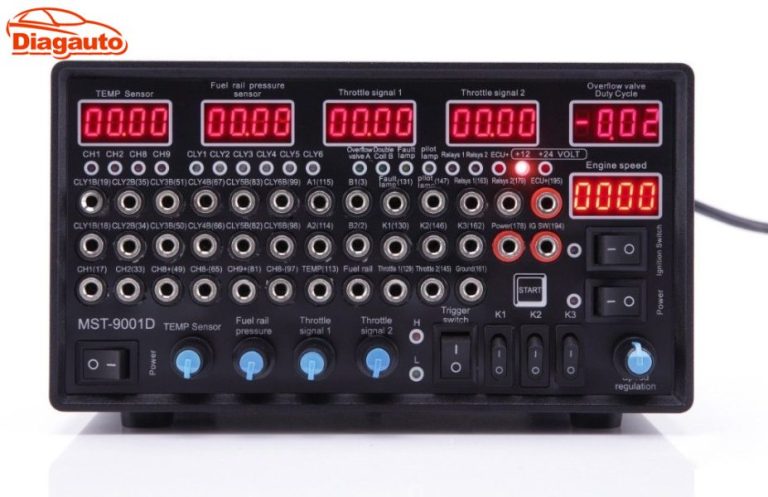
Instead of harvesting or buying a used ECU, you could also use a pre- built simulator, like the ECUsim 2000 by ScanTool (see Figure 7-2). A simu- lator like ECUsim will cost around $200 per protocol and will support only OBD/UDS communications. Simulators can generate faults and MIL lights, and they include fault knobs for changing common vehicle parameters, such as speed. Unless you’re building an application that uses only UDS packets, however, a simulator probably isn’t the way to go.
Dissecting the ECU Wiring
Once you have all of the parts, you’ll need to find the ECU’s wiring diagram to determine which wires you need to connect in order to get it to work. Visit a website such as ALLDATA (http://www.alldata.com/) or Mitchell 1 (http:// mitchell1.com/main/) to get a complete wiring diagram. You’ll find that off-the- shelf service manuals will sometimes have wiring diagrams, but they’re often incomplete and contain only common repair areas.
Wiring diagrams aren’t always easy to read, mainly because some com- bine numerous small components (see Figure 7-3). Try to mentally break down each component to get a better idea of which wires to focus on.
You can get pinouts for the ECUs on several different vehicles from http:// www.innovatemotorsports.com/resources/ecu_pinout.php and from commercial resources like ALLDATA and Mitchell 1. Books like the Chilton auto repair manuals include block diagrams, but you’ll find that they typically cover only the most common repair components, not the entire ECU.
Block Diagrams
Block diagrams are often easier to read than wiring diagrams that show
all components on the same sheet. Block diagrams usually show the wir-
ing for only one component and offer a higher-level overview of the main components, whereas schematics show all the circuitry details. Some block diagrams also include a legend showing which connector block the diagram refers to and the connectors on that module; you’ll typically find these in the corner of the block diagram (see Table 7-1).

