Introduction
Network traffic analysis is a crucial skill for cybersecurity professionals, network administrators, and IT enthusiasts. Whether you’re troubleshooting network issues or monitoring traffic for security threats, tools like TShark and tcpdump allow you to capture and analyze packets efficiently. In this guide, we’ll explore how to use these command-line packet analyzers for real-time traffic capture, interpretation, and saving captured data for later analysis.
1. Capturing Packets with TShark
Basic Capture Command
TShark is the command-line version of Wireshark, designed for network traffic analysis.
tshark- Purpose: This command starts packet capturing in real-time from the default network interface on your computer.
- How It Works: TShark captures network packets and displays them in a human-readable format.
- Output Example:
1 0.000000 172.16.16.128 -> 74.125.95.104 TCP 66 1606 80 [SYN]
Seq=0 Win=8192 Len=0 MSS=1460 WS=4 SACK_PERM=1
Understanding the Output
- 1: The first packet in the capture session.
- 0.000000: Timestamp indicating when this packet was captured.
- 172.16.16.128 -> 74.125.95.104: Source and destination IP addresses.
- TCP: The protocol used.
- 66: Length of the packet in bytes.
- 1606 80 [SYN]: Source and destination ports (port 80 is for HTTP).
- [SYN]: Indicates the start of a TCP handshake.
Why This Matters
Understanding this output allows you to identify which applications are communicating, detect anomalies, and troubleshoot connection issues.
2. Capturing Packets with tcpdump
Basic Capture Command
tcpdump- Purpose: Like TShark, tcpdump captures packets from a network interface but is more lightweight.
- How It Works: Starts sniffing network traffic and displays raw packet data.
- Output Example:
21:18:39.618072 IP 172.16.16.128.slm-api > 74.125.95.104.http: Flags [S], seq 2082691767, win 8192, options [mss 1460,nop,wscale 2,nop,nop,sackOK], length 0Understanding the Output
- Timestamp: When the packet was captured.
- IP: Internet Protocol (IPv4) packet.
- Source and Destination: Shows the sender and receiver.
- Flags [S]: SYN flag indicates a TCP handshake.
- seq 2082691767: Sequence number.
- win 8192: TCP window size.
3. Running with Administrative Privileges
Capturing packets requires administrative access.
Linux Example with sudo:
sudo tcpdumpWithout sudo, permission errors may occur.
4. Listing Available Interfaces
To select the correct interface, list all available network interfaces.
TShark:
tshark -DOutput Example:
1. \Device\NPF_{1DE095C2-346D-47E6-B855-11917B74603A} (Local Area Connection* 2)
2. \Device\NPF_{1A494418-97D3-42E8-8C0B-78D79A1F7545} (Ethernet 2)
tcpdump (Linux):
ifconfig5. Capturing from a Specific Interface
TShark:
tshark -i 1tcpdump:
sudo tcpdump -i eth06. Saving Packets to a File
Instead of displaying packets on the terminal, save them for later analysis.
TShark:
tshark -i 1 -w packets.pcaptcpdump:
sudo tcpdump -i eth0 -w packets.pcap7. Reading Saved Packet Files
Once packets are saved, you can analyze them using:
tshark -r packets.pcapConclusion
TShark and tcpdump are essential tools for network traffic analysis. TShark provides detailed insights, similar to Wireshark’s GUI, while tcpdump is lightweight and efficient for quick captures. By mastering these tools, you can analyze network traffic, detect anomalies, and enhance your cybersecurity skills.
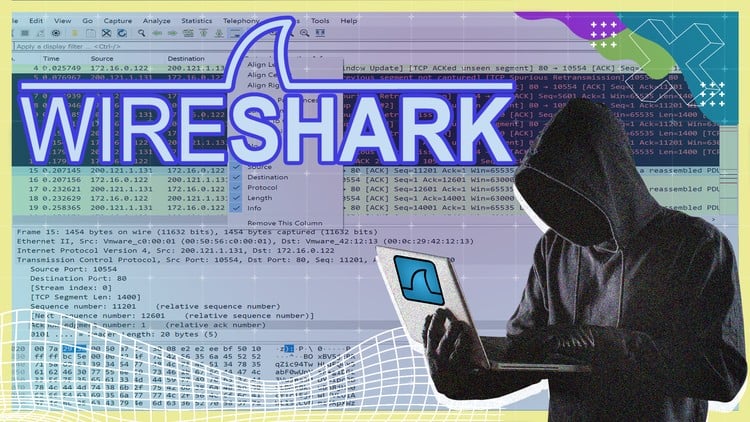
For a more in-depth exploration of packet analysis and network security, check out my Wireshark online course.






Comments are closed.